This guide will help you make bespoke text changes to the Vieworks widget to customise your campaign to suit your campaign and brands language.
Although you can still add your copy to the Vieworks templates, if you wish to make bespoke custom changes you can follow these steps:
From the Vieworks application, go to the settings on the left of the console.
Then select Widget Properties
You will see a list of default language templates available in the platform.
We will select Add New Template
Give the template a name. You can make several templates and apply one to your campaign during the set up.

You will now see the below options we can work through from the widget based on what you want to change. It is important to note the default English is what it currently says. You can change this to what ever you wish as long as it respects the character limits.
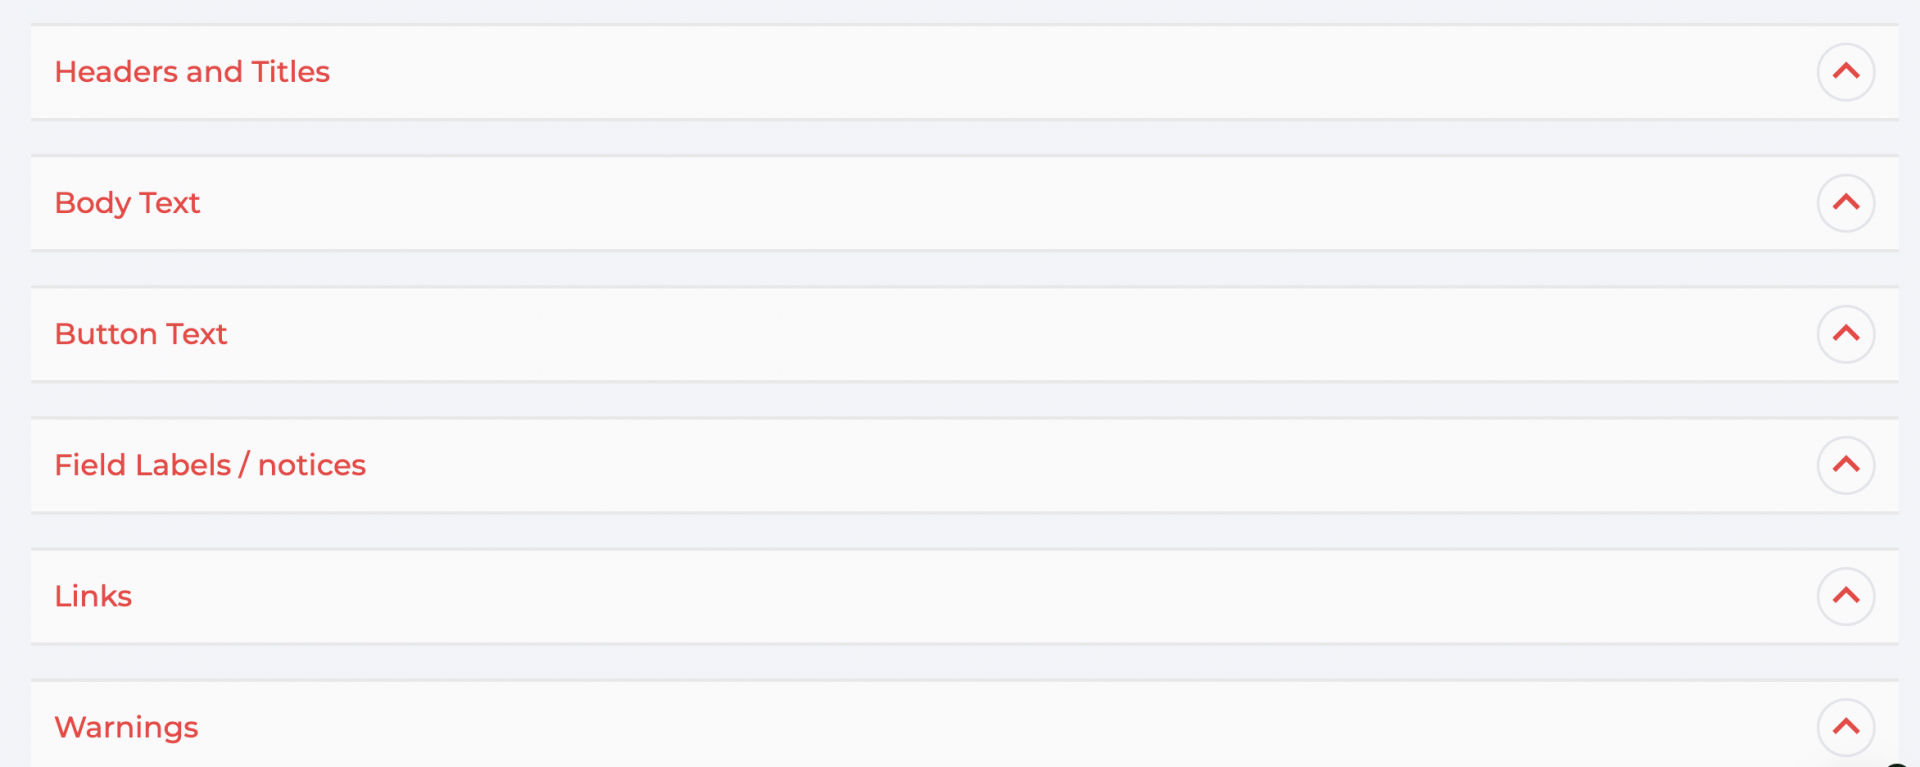
Headers and Titles Guide
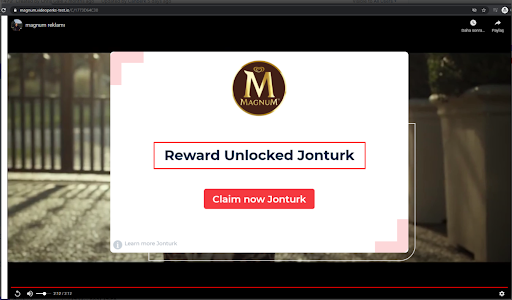
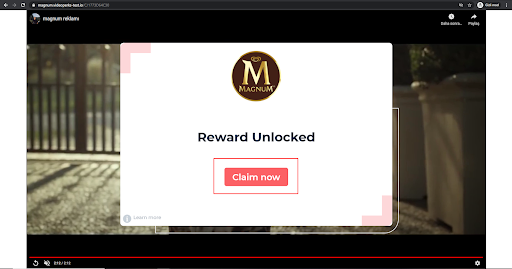
1. PerkUnlocked - Default = Reward Unlocked
This page is shown to the user once the reward can be unlocked and the user has completed the video view. The character limit is 73.
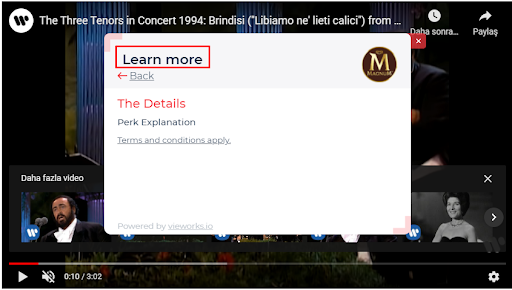
2. LearnMoreAbout - Default = Learn more
This is shown in the widget footer to let the user learn more about the reward. It is also on the title of this page as shown below. Character count is 79.
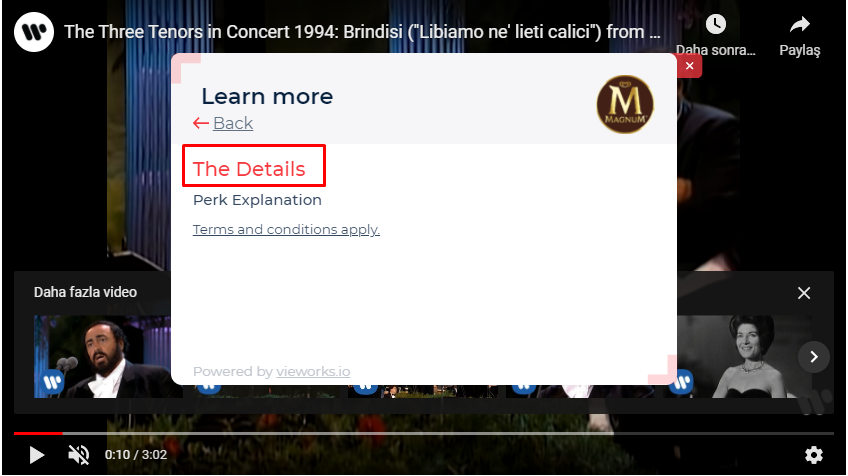
3. Details - Default = The Details
Header for the learn more page and shows in red.. Character count = 36.
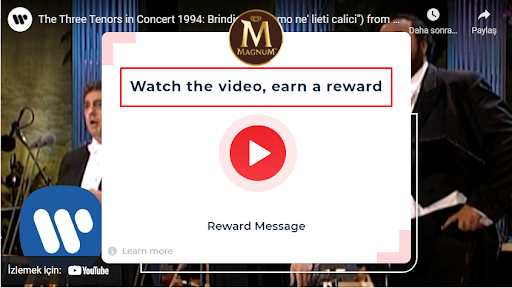
4. watchTheVideo: Default = Watch the video, earn a reward
It is being shown on the first page in the widget and can also be edited within the campaign set up under header 1.
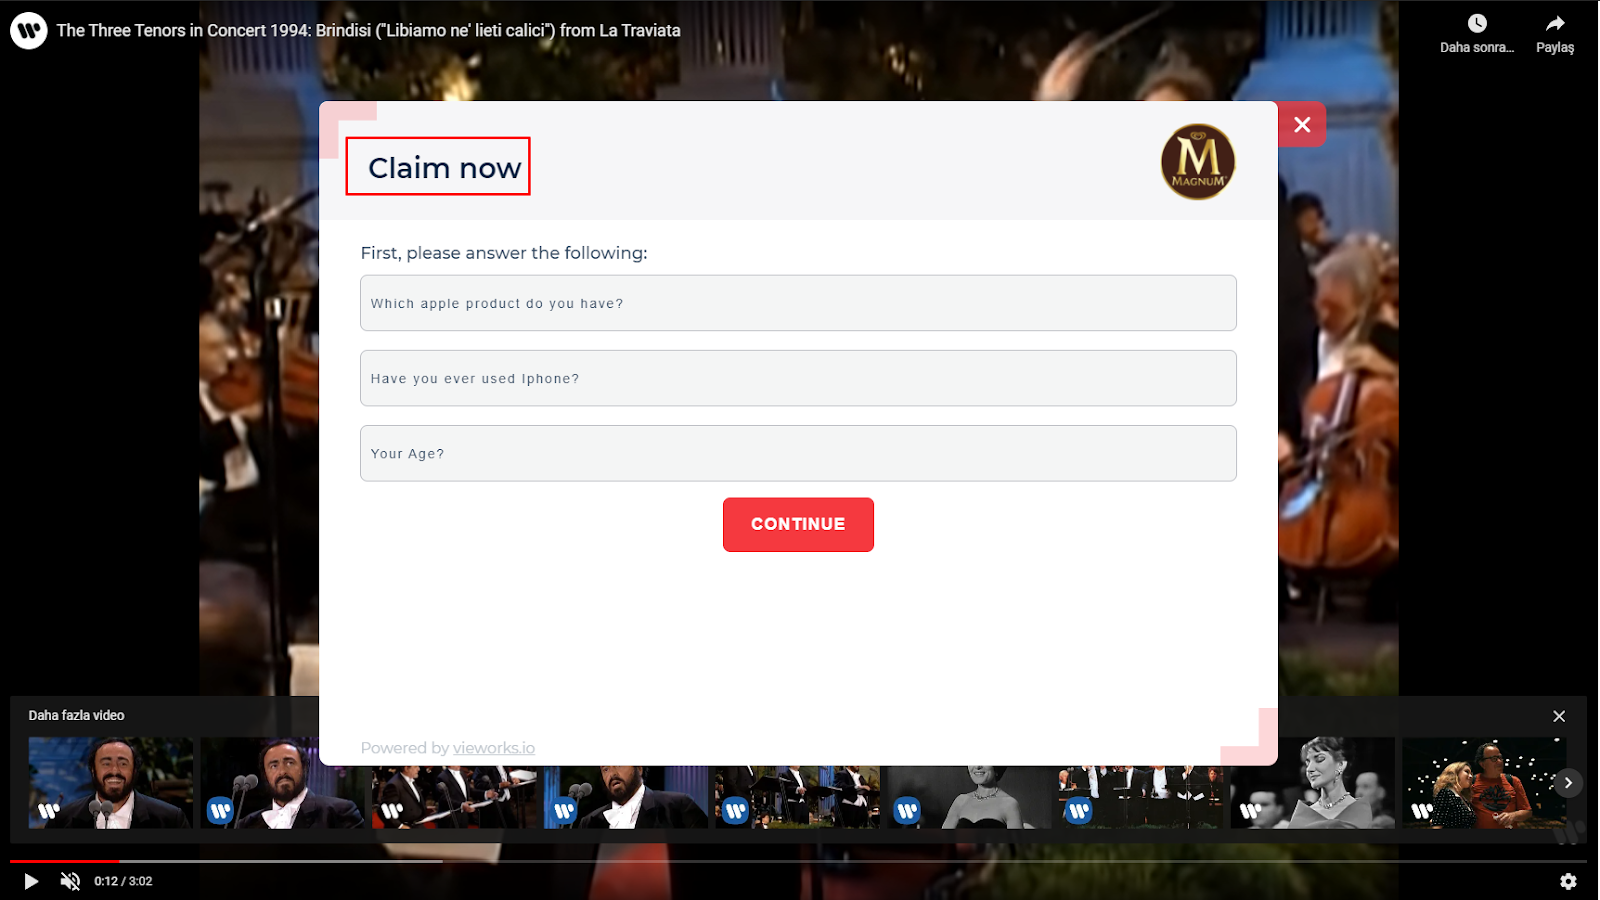
5. claimYourPerk: Default = Claim Now
This is the header being shown when video has been watched and pop up has been shown and the claim process has started.
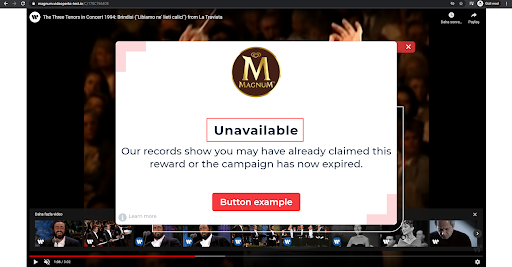
6. perkUnavailable: Default = Unavailable
This page is shown in the widget if the campaign is no longer available if user has already claimed, rewards are spent or the campaign is ended.
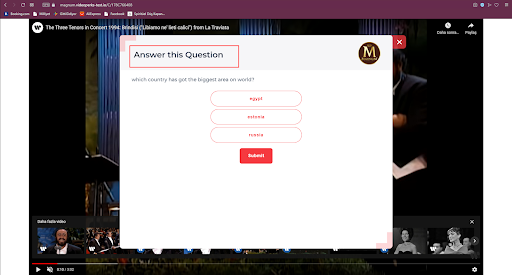
7 answerThisQuestion: Default = Answer this Question
If you have included a question feature to your campaign, this is the header for the initial page asking the question.
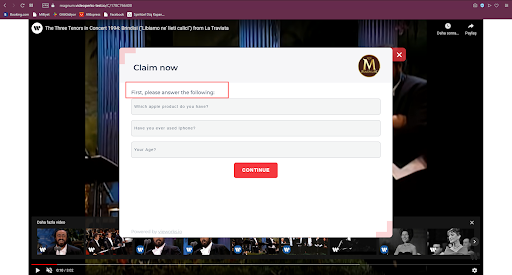
8 optionalQuestions: First, please answer the following:
If you have asked additional information (optional question) from the user, this page will appear after the user information is captured and before the reward page is revealed.
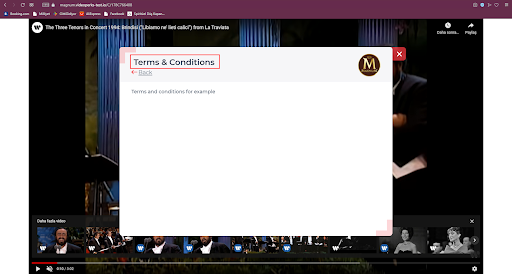
9. termsAndConditions: Default = Terms & Conditions
This can be viewed on widget when you click terms and conditions on the widget. The contents are added in the campaign set up.
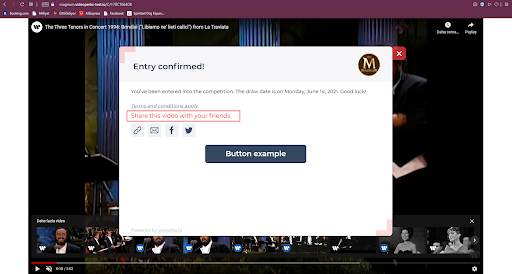
10. shareWithFriends: Default = Share this video with your friends
This page can be viewed when referral and sharing option is ON in campaign from advanced campaign set up. It will be shown when claim perk is claimed on the last page.
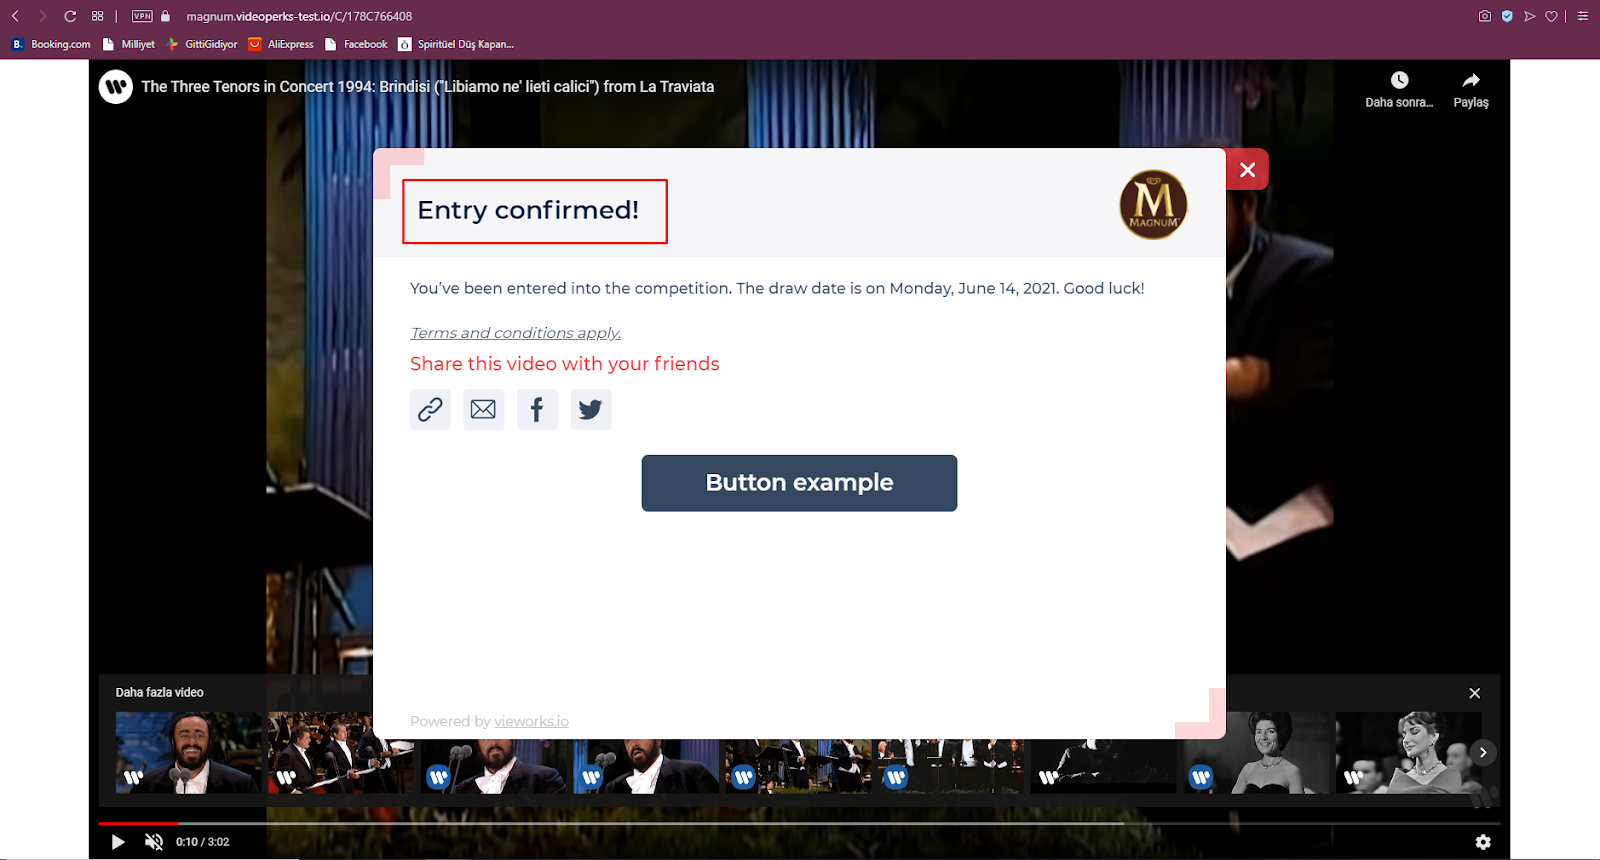
11. unlockedCompetition: Default = Entry Confirmed!
This title is being shown when a successful entry is received for contest type campaigns.
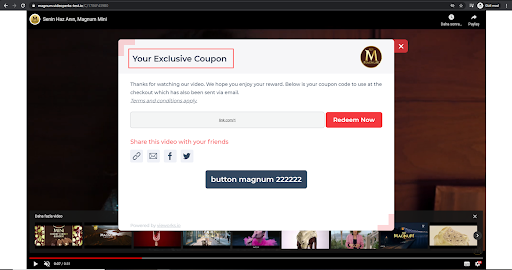
12. exclusiveCoupon: Default = Your Exclusive Coupon
This title is being shown when a successful claim is received for coupon type campaigns.
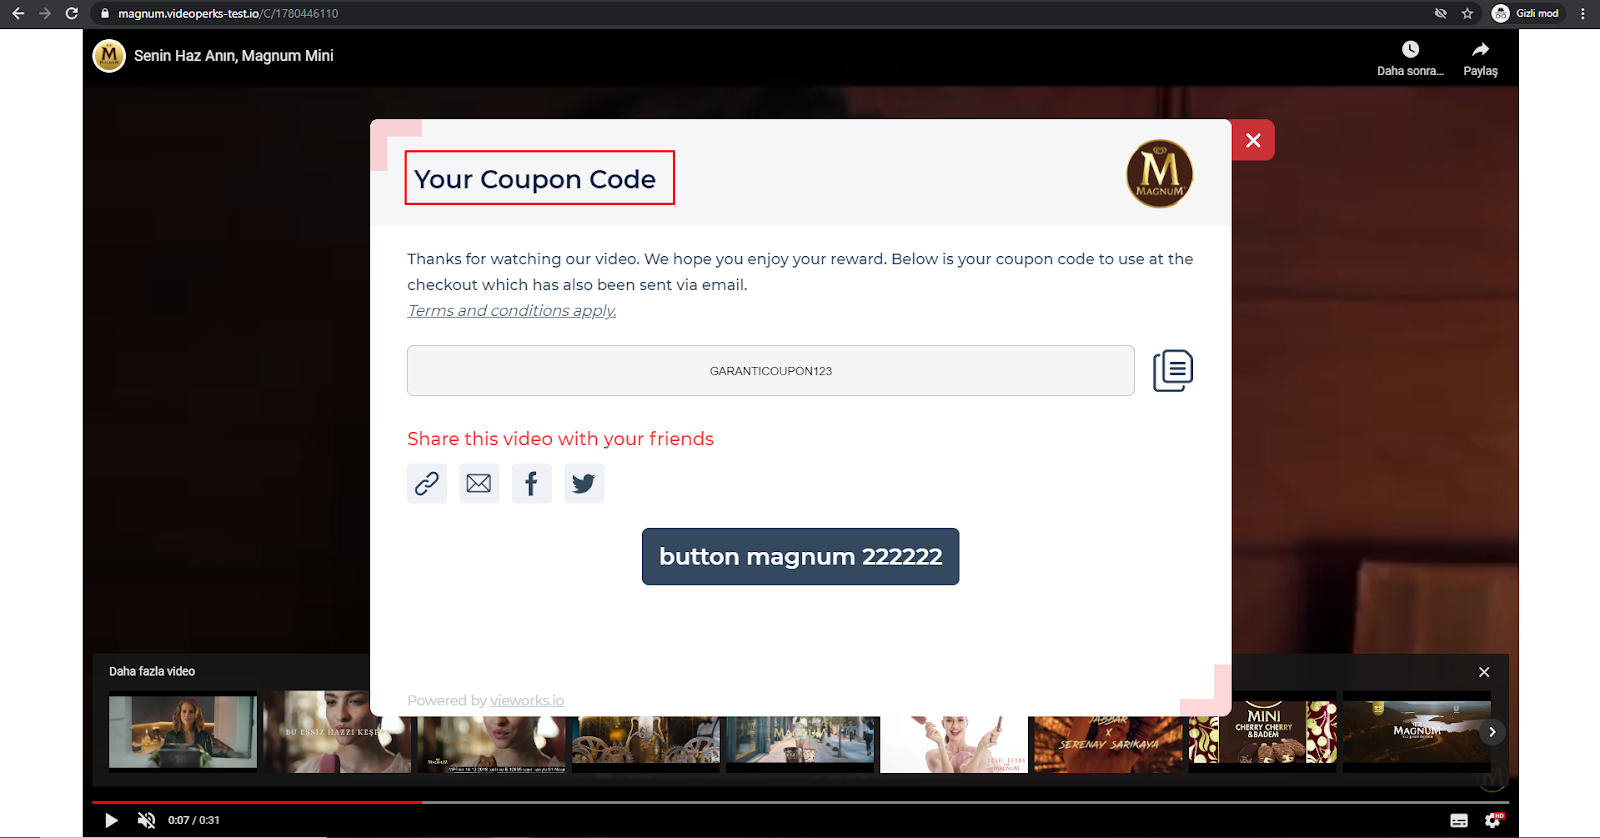
13. unlockedCoupon: Default = Your Coupon Code
This page is shown when the video is successfully claimed for Freeform Reward campaigns.
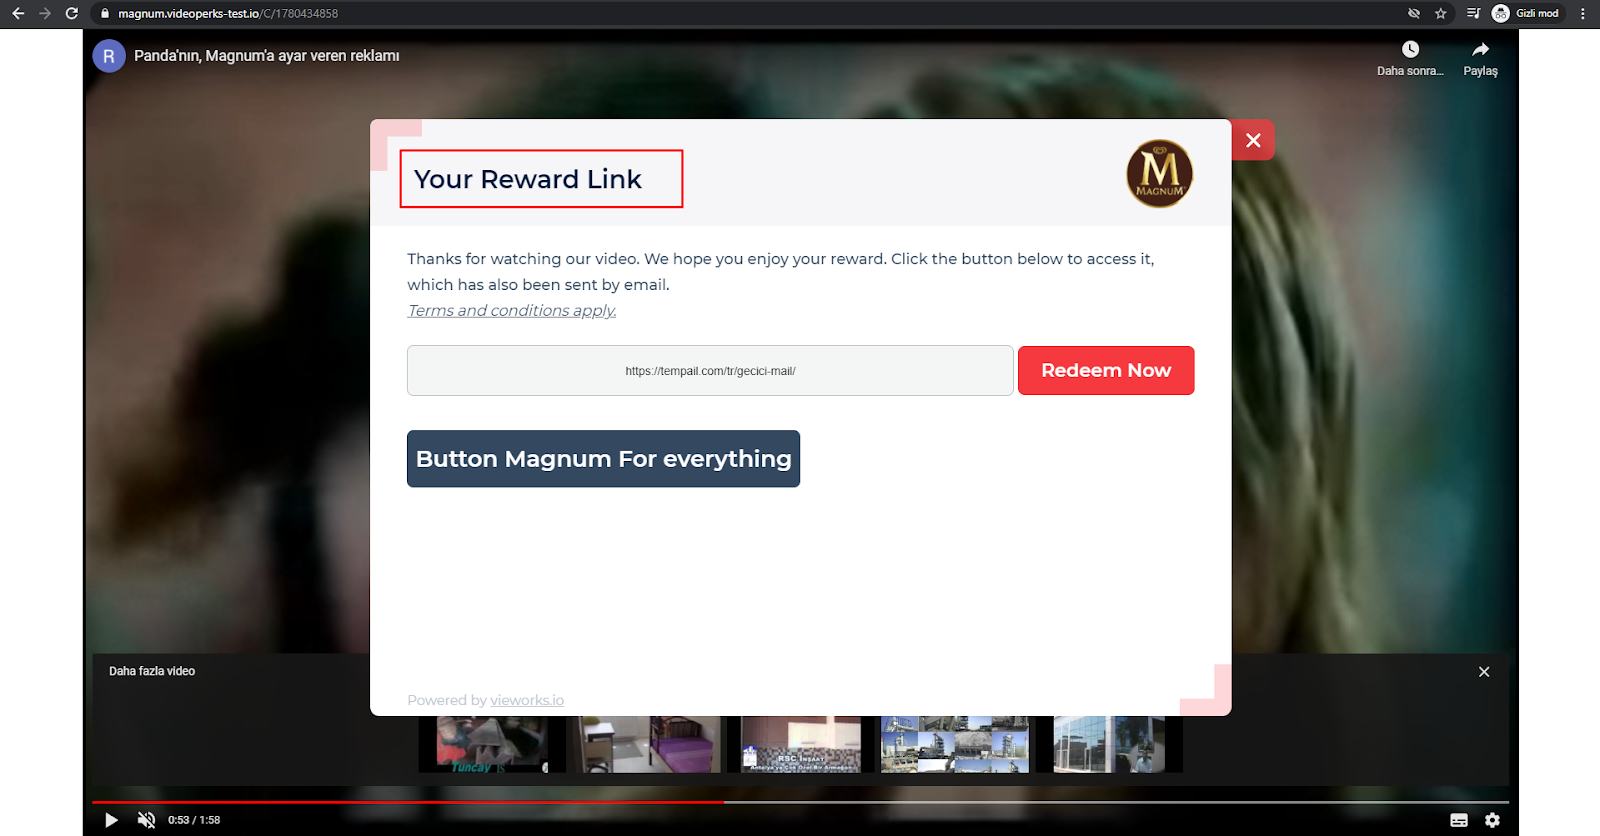
14. unlockedLink: Default = Your Reward Link
This page is being shown when once the reward is generated and delivered for reward link campaigns.
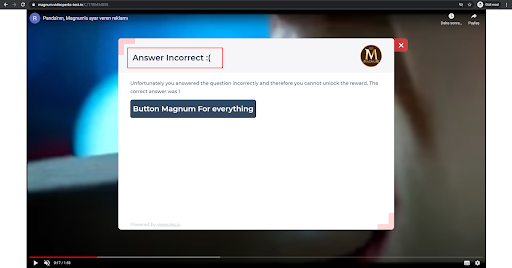
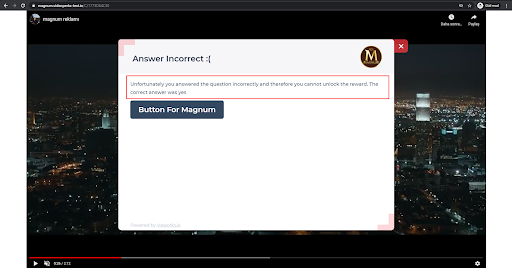
15. unlockedWrongAnswer = Answer Incorrect :(
If you have quiz feature turned on, and the user gets the wrong they are shown this page. This is the header for it.
BODY TEXTS
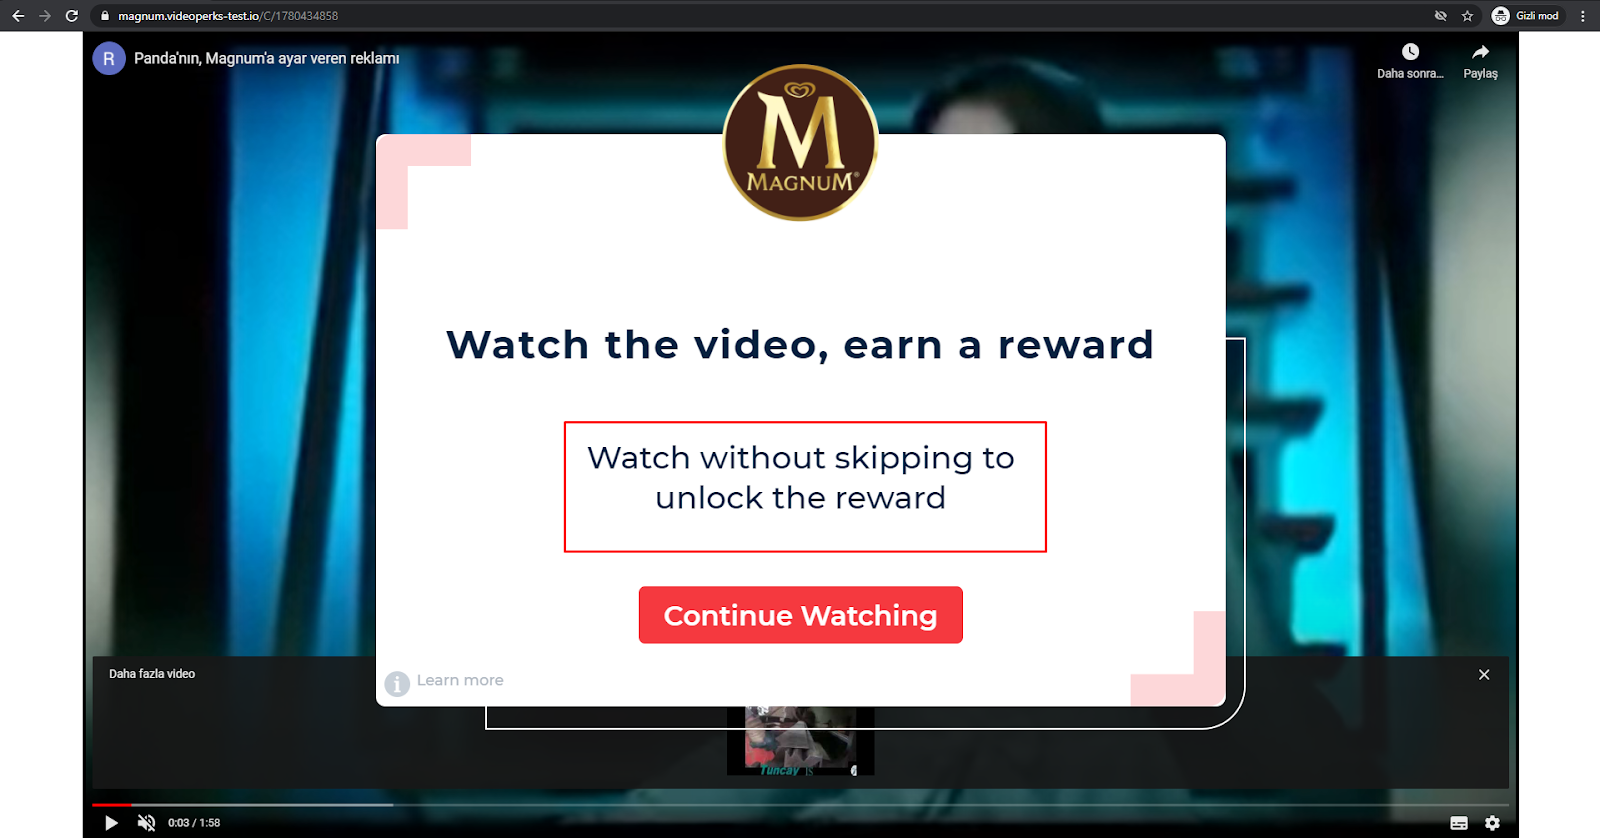
1. watchWithoutSkipping: Default = Watch without skipped to unlock the reward.
If a user pauses the video the message tells them they cannot skip to watch.
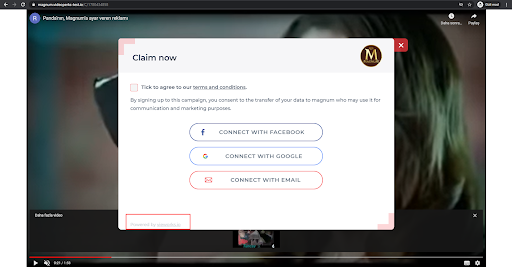
2. poweredBy: Default Powered by Vieworks
You can change this here, or you can opt to remove the powered by all together to replace with your company's Privacy Policy. You can set this in advanced campaign set up. This is being shown on the widget’s bottom left corner.
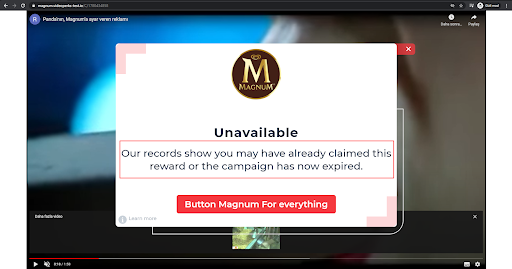
3. perkAlreadyClaimed: Default = Our records show you may have already claimed this reward or the campaign has now expired.
This is being shown when the user has successfully claimed the perk and is in the database and tries a second time. Or if the campaign has expired or rewards are spent.
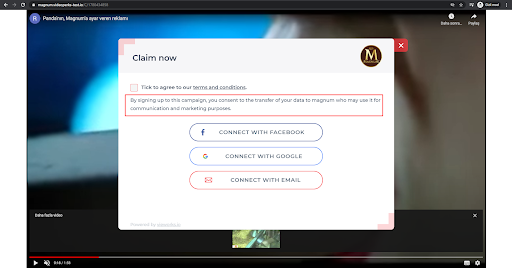
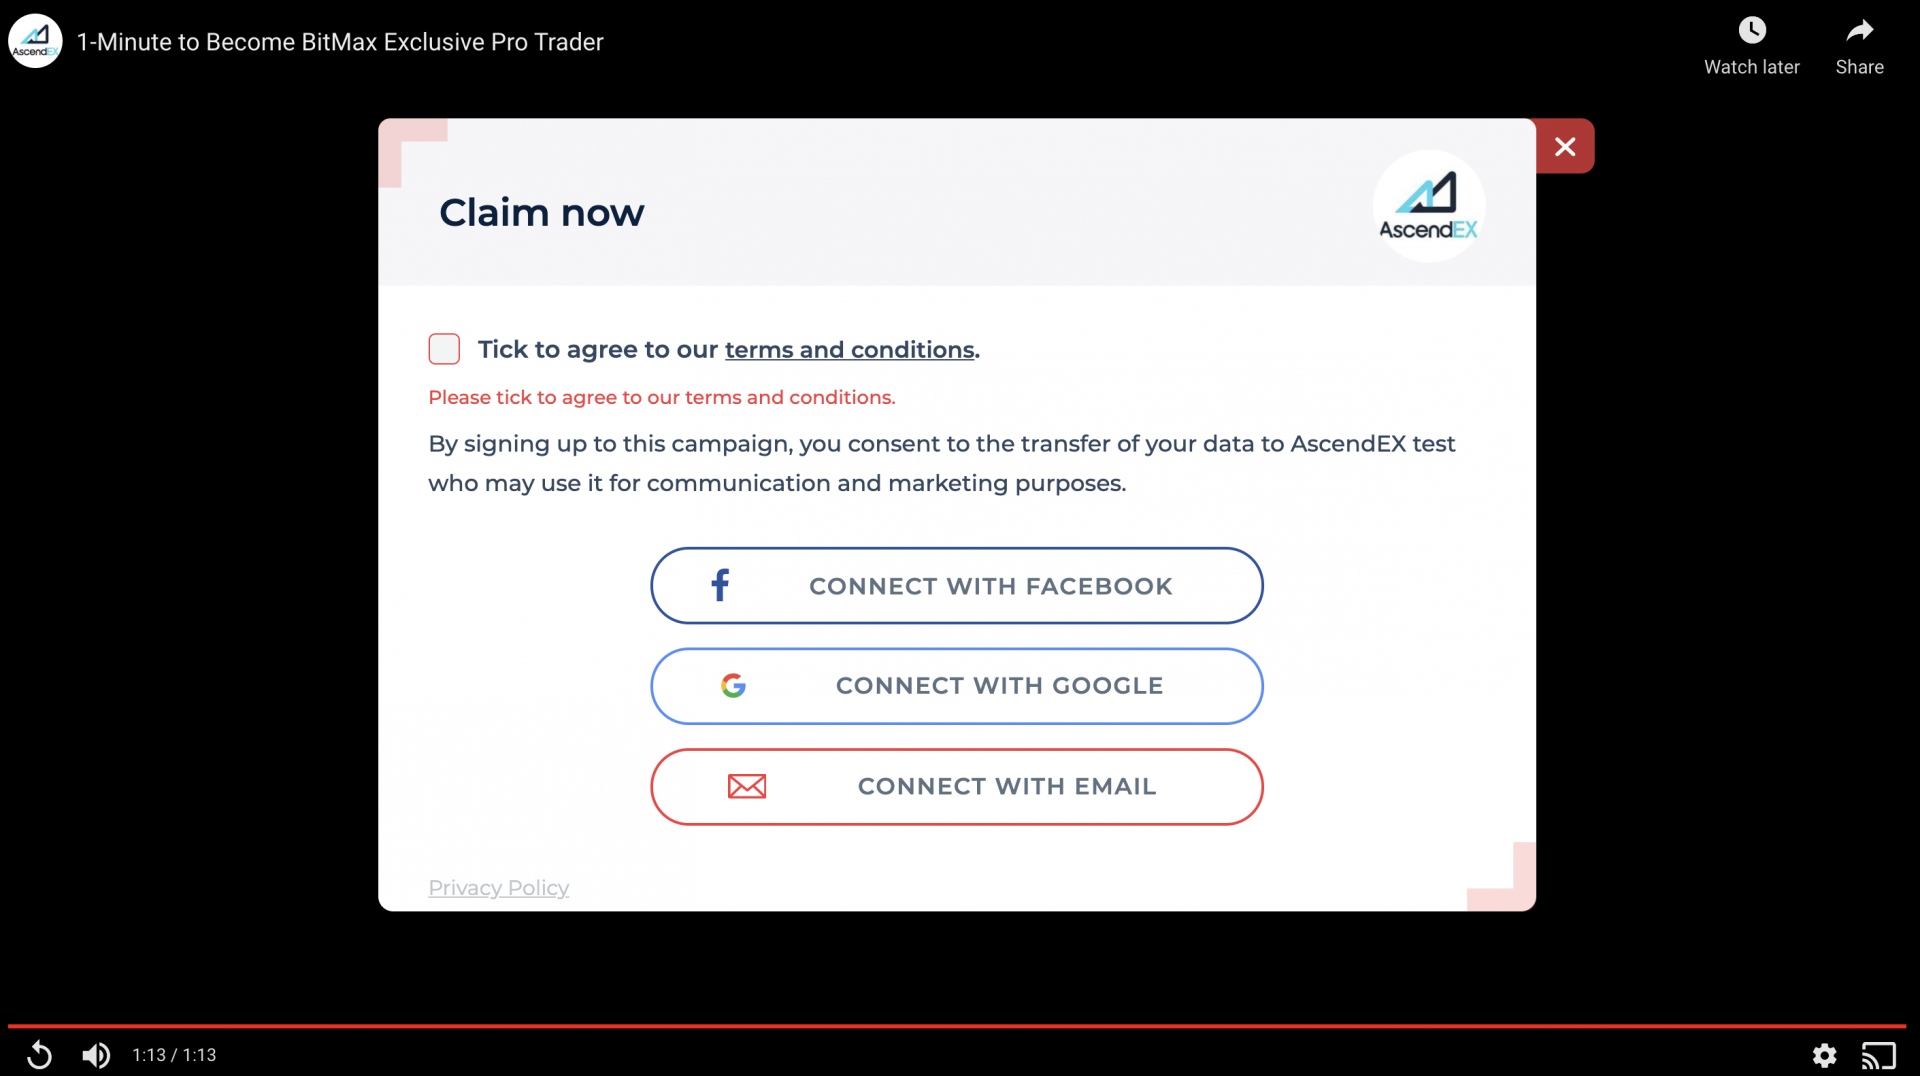
4. termsAndConditions: Default = By signing up to this campaign you consent to the transfer of your data to [brand name] who may use it for communication and marketing purposes.
this is being shown under tick to agree to terms and conditions text.
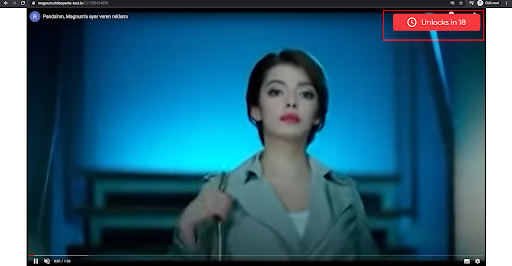
5. unlocksIn: Default = Unlocks in [seconds left]
This is the counter being shown video’s upper right corner during playback.
6. watchForReward: = The metadata = Default = Watch this video earn a reward
Here you can edit the meta data which will be shared on social media. The default is taken from the reward detail from the campaign set up.

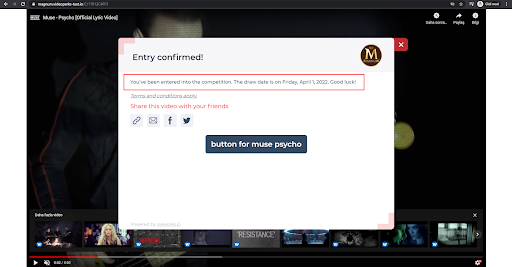
7. unlockedCompetition: = Default = You’ve been entered into the competition. The draw date is on {{drawDate}}. Good luck!
This is for competition campaign perk’s body text.
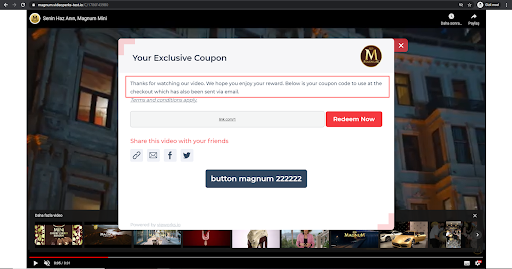
8. unlockedCoupon: Default = Thanks for watching our video. We hope you enjoy your reward. Below is your coupon code to use at the checkout which has also been sent via email.
this is for coupon code campaign perk’s body text.
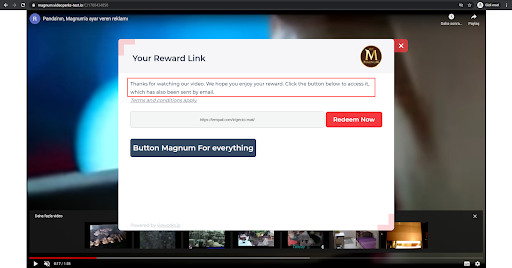
9. unlockedLink: Default = Thanks for watching our video. We hope you enjoy your reward. Click the button below to access it, which has also been sent by email.
This is for reward link campaign perk’s body text.
10. unlockedWrongAnswer: Default = Unfortunately you answered the question incorrectly and therefore you cannot unlock the reward. The correct answer was {{cAnswer}}
This can be found only if campaign has a quiz feature turned on. Note do not change {{cAnswer}} as this will reveal the correct answer you set in the platform.
BUTTON TEXTS
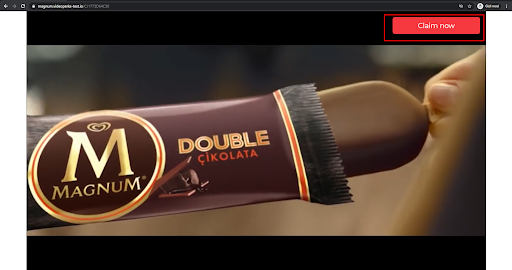
1. claimPerk: Default = Claim Now
This can be found on video’s top right corner and the widget when the counter has ended and the video is ready to claim. It is also seen at the end of the video on screen two.
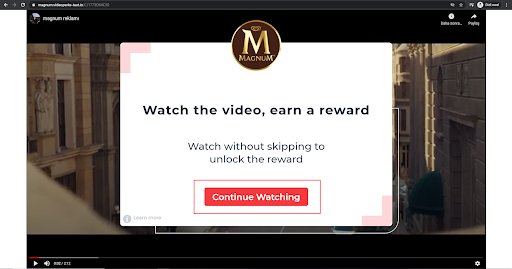
2. continueWatching: Default = Continue Watching
This screen is being shown when the user stops or pauses the video.
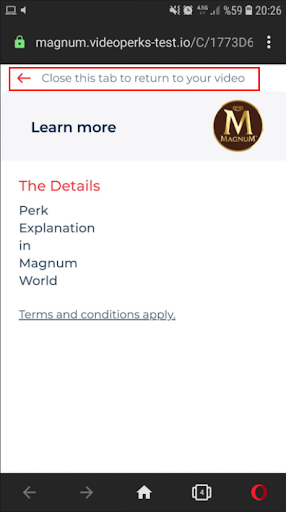
3, closeThisTab: Default = Close this tab to return to your video
this is being shown when client stops the video while client is watching it on mobile.
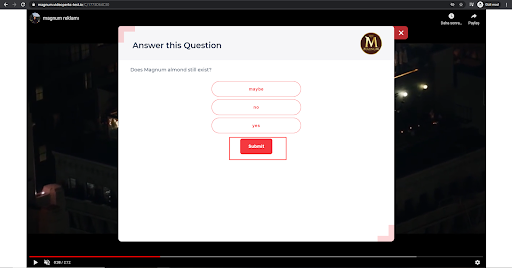
4. Submit: Default = Submit
This screen is being shown when the campaign has question mode turned on and is the button to progress.
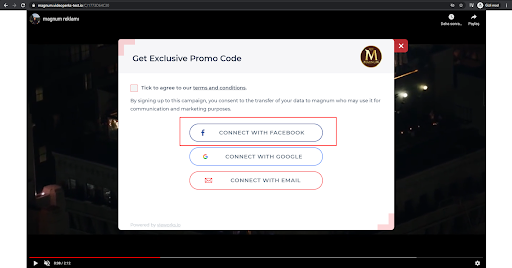
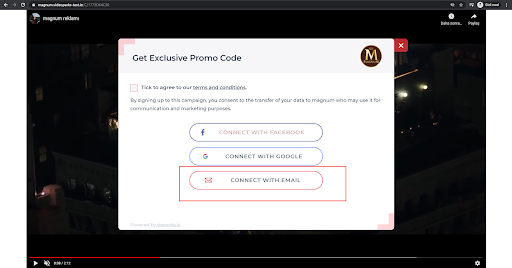
5. loginWithFacebook: Default = Log in with Facebook
This can be shown on login screen.
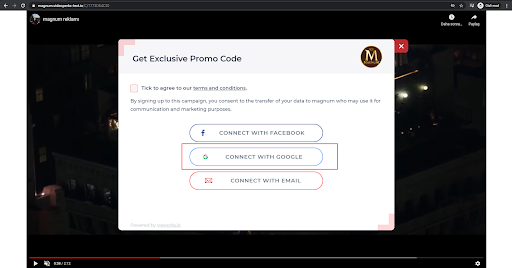
6. loginWithGoogle: Default = Log in with Google
This can be shown on login screen.
7. continueWithEmail: Default = Connect with Email
This can be shown on login screen.
FIELD LABELS / NOTICES
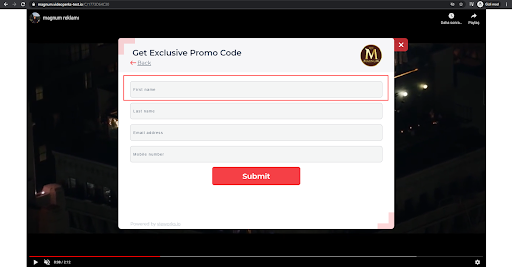
1. firstName: Default = First Name
If user enters via email, this screen is revealed.
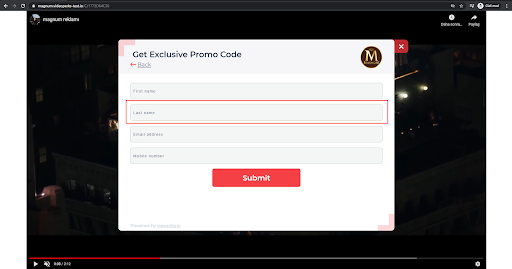
2. lastName: Default = Last Name
If user enters via email, this screen is revealed.
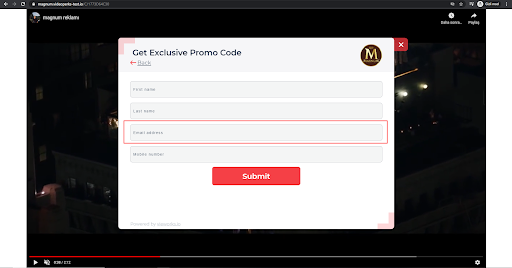
3. email: Default = Email
This is being shown when client choose connect with email.
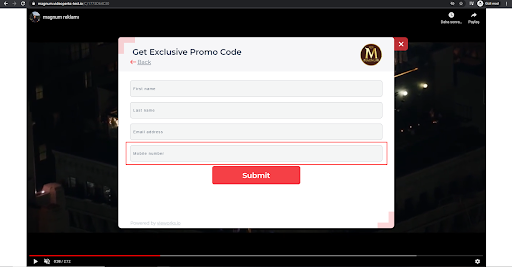
4. mobile: Default = Mobile Number
this is being shown when client choose connect with email where the user can add their mobile number.
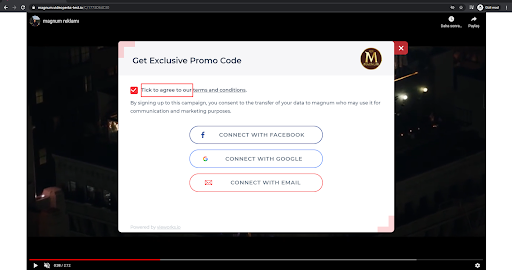
5.a. tickToAgreeToOur: Default = Tick to agree to our
This is being shown before the perk claimed step.
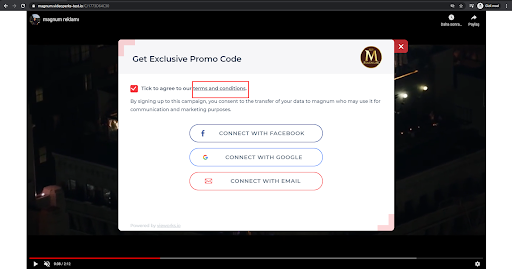
5.b. termsAndConditions: Default = Terms and conditions
this is being shown before the perk claimed step and is the second part of the sentence.
LINKS
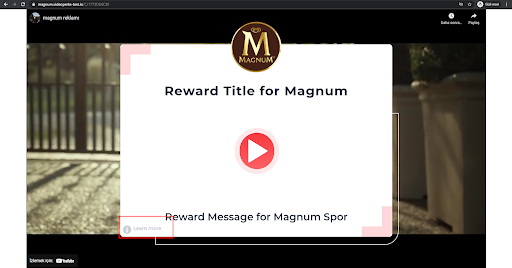
1. learnMore: Default = Learn more
this link can be shown widget’s bottom left area. With this link, the user can find learn more informations on campaign.
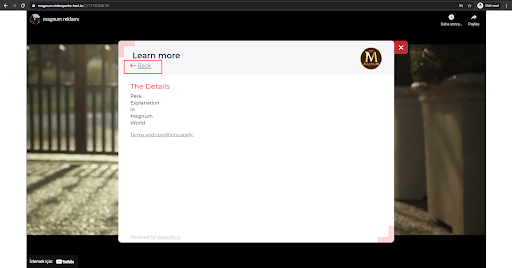
2. back: Default = Back
this can be shown under widget’s titles. With this link, client can go back.
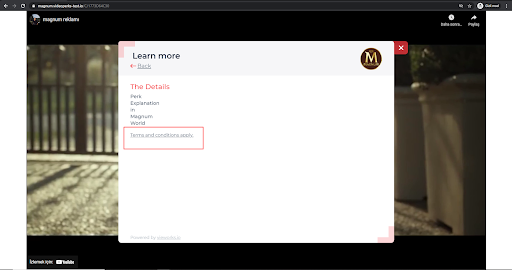
3. termsAndConditions: Default = Terms and conditions apply.
this can be shown below the Widget’s body texts. With this link, client can go terms and conditions text.
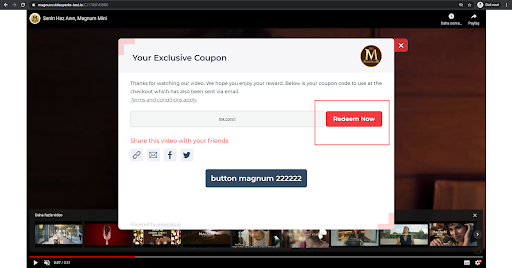
4. RedeemNow: Default = Redeem Now
this can be shown when client gets the reward of coupon code campaign which has a URL loaded into the campaign.
WARNINGS
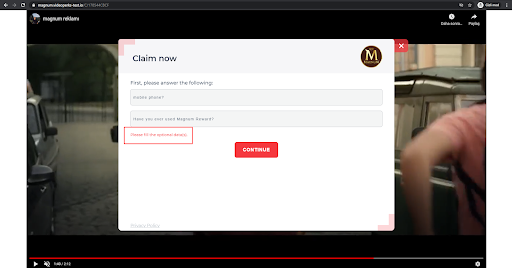
1. fillTheOptionalData: Default = Please fill the optional data(s).
This warning can be shown when user does not answer optional questions if turned on for the campaign.
2. tickToAgree: Default = Please tick to agree to our terms and conditions.
this warning can be shown when the user does not opt in to the terms and conditions by ticking the box. They are then prompted.
Then save your template
Use the red button saying Create Widget Properties to proceed. Once successfully saved you will see it in your saved templates.

Apply the template to your campaign
You are almost there. The final step is to go to create your campaign and fill in all the details. In advanced settings, you will now see your template name appear on the options unde Change Widget Language (see below). Select your template and your new copy is now assigned to your campaign.

